Saturday, November 28, 2009

I had an idea

I wondered if it were possible that I could stick wires into the silicone that forms the thorax somehow.

I did an experiment with wire and discovered that indeed I could, and that it provided more support than anticipated. So I wove a couple of wires around the wire skeleton of Felice, and voila, a more stable neck!


At this point I decided the idea was viable, so I decided it was a good idea if I wove wire with the neck wire skeleton.


Beheaded


Well the above image shows the neck joint and it's supporting wire separate from the body. There I was ready to take photos of her, fiddling with her neck a little bit, only to find the entire thing came loose. This is 25 days of constant play after getting her.

I don't know how to fix this to allow her to be put into poses that could have her photographed while upright. I don't imagine drilling in and trying to put a replacement wire would help, nor could strong glues that I am familiar with. It's conceivable to me that it's possible that I could cut open the neck and solder the joint back together; but well I'm not sure that would work either and I'm not particularly prepared to do that.

For now I've just done a silicone repair on where there are some tears.

Hmmm, perhaps I shall just have photos of her lying down now...

Thursday, November 26, 2009

Some new stuff on You Tube

This summary is not available. Please click here to view the post.

Good news, of sorts

Well I was picking at Felice eyes (what ? don't you), and I managed to remove the bad paint job I made there.


This makes me wonder though. If the bond of the material isn't quite as strong as I anticipated; or perhaps I forgot to use the primer, that's why it's manage to be pulled off. Either way I'm somewhat pleased that I could remove it, allowing for the possibility that I might repaint it properly later. The bad paint job I did on the nipples remain, but I wasn't overtly concerned with that.

The day after I picked the paint off her eyes a bit of an odd thing happened. The wrist joint slipped off itself. While trying to put it back into place a lose wire poked through so I decided to pull it out.

What you didn't know...

Well on her first outdoor session Felice had her first proper full break. Her neck now has no support and will sag badly and wobble lots on it's own. Also now the wire in her left wrist has partially broken, poking a hole.

So that's 20 days of constant play after having got her that she had her first full joint break.


To correct her neck up temporarily for the photo taking session, I used cut bits of cotton buds. Besides the poke from the wire in her wrist, having her on a surface outdoors seems fine.


I figure I'll be able to take nice photos of her provided her shoulders, hips or back wires don't break yet, provided I can make something of a solution for her neck. As such I've decided to prop her neck up using wires, as the joint is already somewhat accessible.


The result is still a floppy neck, but it's stiffer and more manageable than before.


Scandalous photo with white powder of the model from the night before the photoshoot.

Felice has her first outdoor shooting session

I decided to take Felice out for a nice photo taking session outdoors. I spied a hill and decided to scout for a nice secluded area. Found a nice stream.


In the end I didn't actually have her in the water, as I decided I wasn't quite sure how clean the water was.

How soft?

For those of you wondering how soft she is, here are some images and a video.


Repair Good!


Well repairing the doll has been pretty easy for me; so I strongly recommend getting the repair kit. It's so good, I wonder about the prospect of carefully cutting at the joints to replace broken wire. This is something I don't intend to do, but it certainly strikes me as a viable process.

Saturday, November 21, 2009

The repair kit has arrived!


included instructions for repair (in Japanese)


included instructions for painting (also in Japanese)


contents of the repair kit (dvd stack included for scale purposes)


It arrived on a Tuesday; was shipped the previous Thursday; ordered the Friday before that. So from order to arrival took 11 days. With the estimated time of shipping to Oz from Japan of 3-5 days being quite accurate.

Several days after getting the repair kit Felice has remained unhealed because of my concern that I would fuck up the job. Concerns that unfortunately were well founded.


I'd seen the images on the repair sheet before here:

http://fallenleaves19830916.spaces.live.com/

I just thought it was a devoted fan and not images properly associated with Arte Tokio.


The task of repairing cracks was actually more straight forward than I imagined. The silicone provided is sticky so the wound have a tendency of closing on their own; and upon scrutiny of the images and the products included in the package I deduced the logical means of what to do.


So from the images I figure what's supposed to happen is;


1) First you apply the 'primer' to the appropriate area with an ear bud (that's a cue tip, or cotton bud to some of you).


2) apply the silicone from the tube to a clean surface.


3) mix the silicone with a tiny bit of colour pigment. (I learned before that these pigments are very potent and that only a very small amount is needed.)


3) Apply that mixture to damaged area and close it.


4) Use a means to ensure that the effected damage area stays closed. (I omitted this part, trusting in the stickiness of material and force of joint to keep it closed)
(the images here were taken from http://fallenleaves19830916.spaces.live.com/)


Let's review the damage:

crack under right arm pit


crack on right wrist
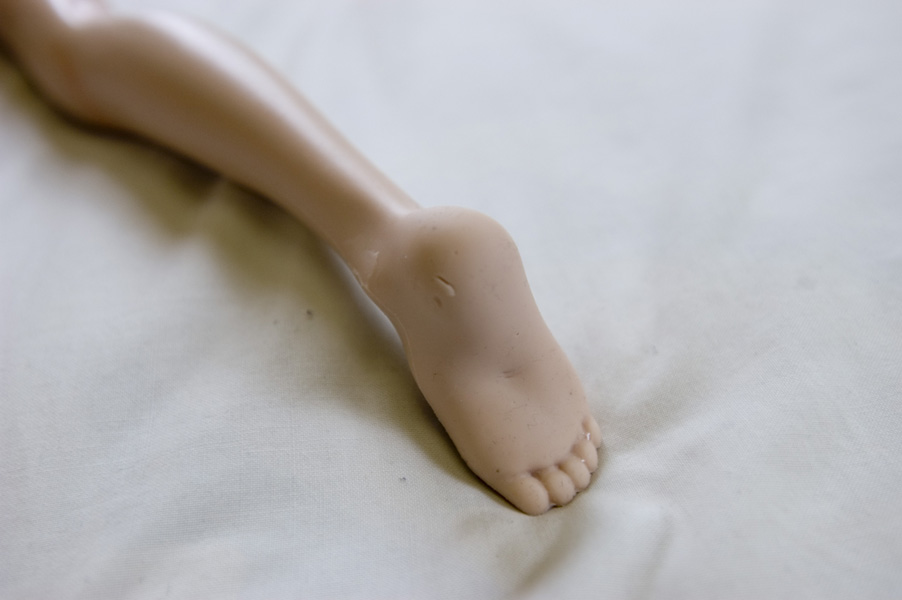

dinged feet


& little cracks at the corner of the eyes

I began cautiously enough, beginning in the small obscure area that is the sole of the foot; in case I did mess it up. The tube silicone begins to cure quickly (minutes), so it's better if you don't dally once the silicone is out of the tube. Having decided that repair was easy and proceeded to finish up the repairs. And things would have been well if I had stopped there, as I had planned and intended.


Instead of following the care that I had at the beginning I got impatient and proceeded to painting. I also decided to ignore the instructions on the painting guide. I mixed the pigment and silicone together and tried using that as a paint. Unfortunately it doesn't go on so well as a paint, and in my effort to smooth it out, created a rather rough job.


It kinda looks okay from far away though...

When allowed to sit for several minutes the silicone is pretty robust. My hope is that it will eventually wear away so I can repaint it better, or figure out a way to repair it.


At the time this was written, Felice wounds were still in that 'leave for 30 hours' period.